WiFiStation for Cidco MailStation
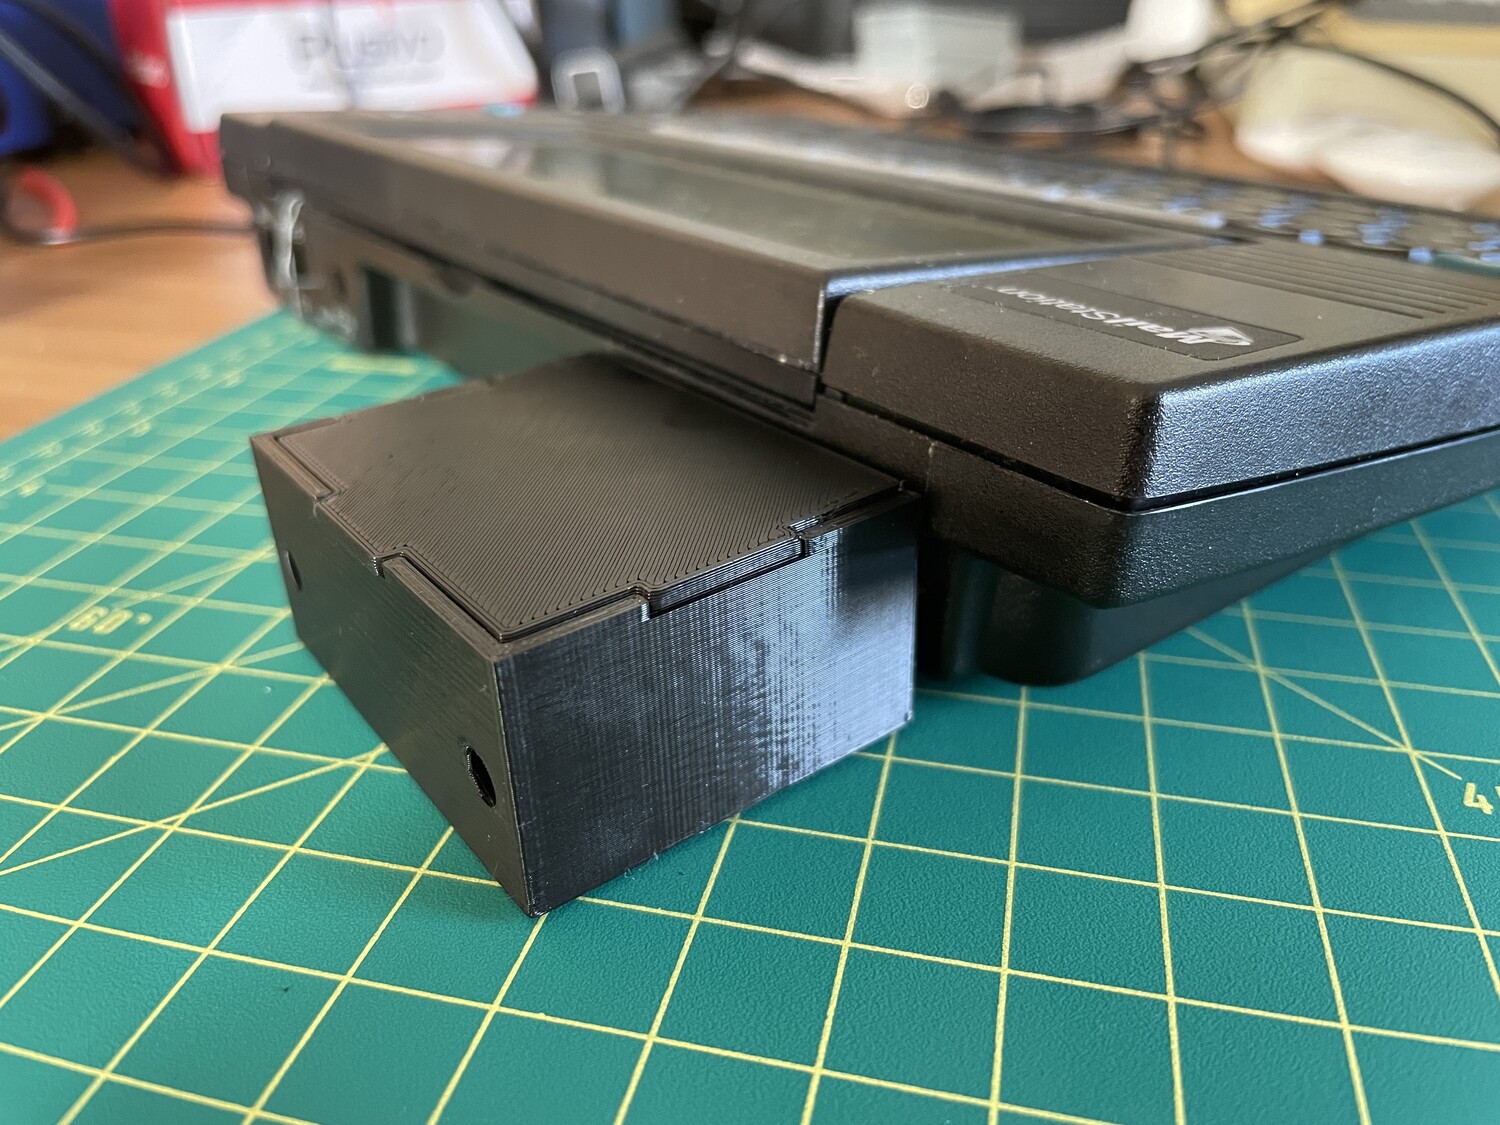
WiFiStation is an ESP8266 WiFi module board that connects to a Cidco MailStation Z80 computer. It allows programs to be uploaded to the MailStation over WiFi/HTTP or USB serial, and can act as a WiFi modem.

Note: WiFiStation requires programs on the MailStation to be written to use it, and does not replace or remove any standard analog modem functionality on the MailStation.
Table of Contents
Compatibility
WiFiStation has been tested with the Cidco MailStation DET1/DET1A (also called the Mivo/MailStation 100, or eMessage). Other models of the MailStation such as the 120, 150, 200, 250, and 350 have not been tested.
Purchasing / Building
I am no longer selling WiFiStation as a full kit on Tindie, however the board and schematic files remain freely available for printing your own PCB, the case model is available for 3D-printing your own case, and a bill of materials is available for quickly sourcing all of the components.
Contributing
WiFiStation's firmware, schematic, board design, and enclosure are all available on GitHub under an ISC license. You are free to modify any of it.
Getting Started
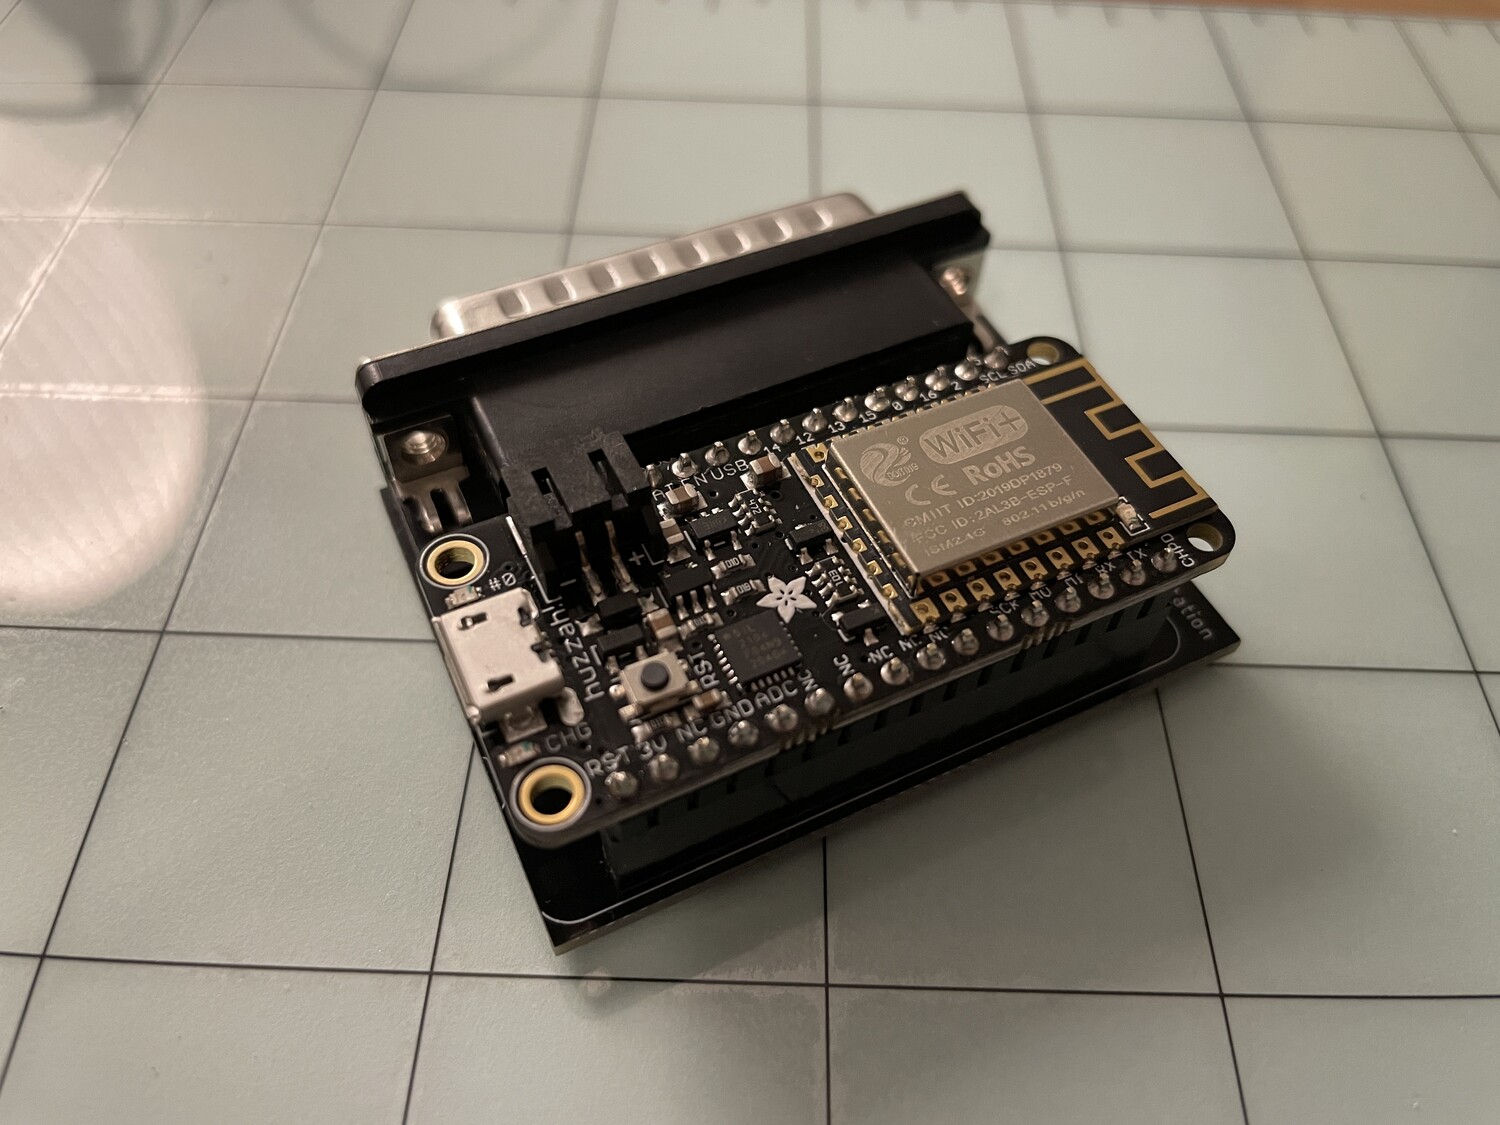
- If your WiFiStation came as an unassembled kit, you must first assemble it.
- Plug in your WiFiStation to the MailStation's printer port and connect a Micro USB cable between the WiFiStation and your computer. You'll only need it connected to a computer for this initial setup.
- Connect to the USB serial device at
9600baud (standard8-n-1) with some terminal software likecu,minicom,screen, etc. Do not use hardware flow control (DTS/CTS). - Press
Enter then type
ATand press Enter. You should get anOKresponse. If not, check the troubleshooting steps. - Connect the WiFiStation to your wireless network with
AT$SSID=followed by your network name, such asAT$SSID=exampleand press Enter. - If your network uses encryption, enter
AT$PASS=followed by the passphrase, such asAT$PASS=hunter2and then press Enter. - Type
ATIEnter and you should seeWiFi Connected: yes. If not, wait a few seconds and issueATIagain. - To check for a new firmware update, type
AT$UPDATE?. If a newer version is available, you can update withAT$UPDATE. - If you want to enable the HTTP web server, type
AT$HTTP=1followed by Enter. Note that there is no authentication required on the HTTP server. You should now be able to reach it on your network by putting its IP address (shown in the output ofATI) in your web browser. - Save your settings with
AT&WEnter. - To connect to a telnet host, issue
ATDT hostnamesuch asATDT klud.geand then Enter.
User Documentation
- Assembling a WiFiStation
- Hardwiring to optionally get power from the MailStation
- Installing WSLoader to get Z80 code/programs running
- Using sendload to upload programs from a command line over a USB cable
- Using the HTTP interface to upload programs over WiFi
- Using Flash Loader to permanently store programs
- WiFiStation
ATCommands
Developer Documentation
- Parallel Protocol for adding WiFiStation support to your program
Programs with WiFiStation Support
User Reviews
- YouTube - Tim Morgan: Adding WiFi to Z80 Portable Terminal from 1999 covers assembly, installing WSLoader, and loading msTERM
Troubleshooting
All LEDs on the Feather Huzzah will flash briefly upon connecting power (micro-USB or a battery) and then turn off.
If the red and blue LEDs on the Feather Huzzah alternate flashing ten times, that means it failed communicating with the MCP23S18 SPI chip. Either the chip is not correctly plugged into its socket, it is plugged in backwards, or the chip needs to be replaced.