Taking a Better Photo of a CRT Screen with a Phone
As a frequent reader of the retrobattlestations and VintageApple subreddits, I see a lot of photos of CRT screens that show significant scanlines resulting in images like the one on the left.
With a simple post-processing tip on the iPhone (though there is probably a similar technique for Android phones), it's easy to fix this photo after it's been taken so it looks like the one on the right:


Live Photos
I'm a big fan of Live Photos on the iPhone. While they can capture sound and movement that help give context to a photo, I often use it to salvage a blurry photo by changing the Key Photo, or in this case, by using Long Exposure to remove scanlines from photos of my Macintosh.
CRT screens produce an image by scanning an electron beam across and then down the screen at a high rate of speed, often at 60 times per second. When a still photo is taken, it often captures this scanning mid-process, resulting in big dark bars covering some or nearly all of the screen.
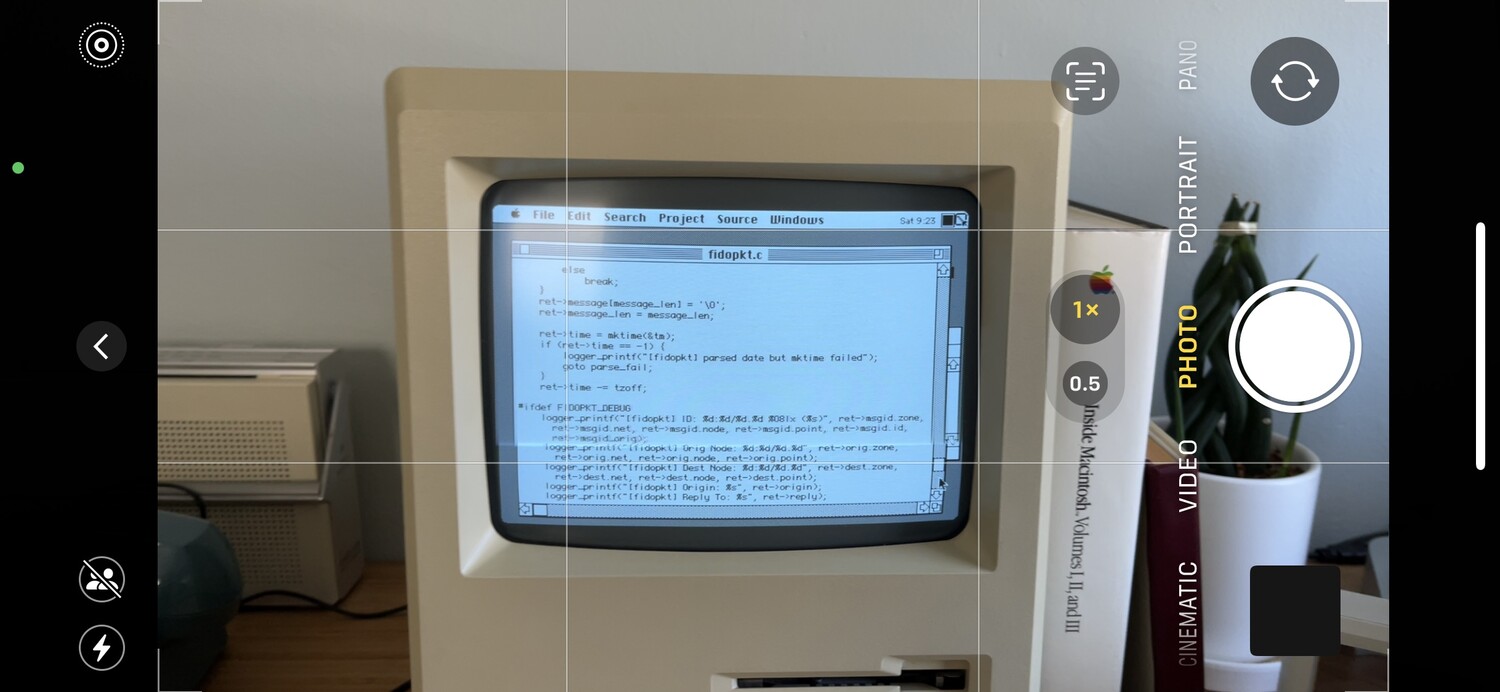
When you look at the CRT through the phone's camera, it will look something like this:
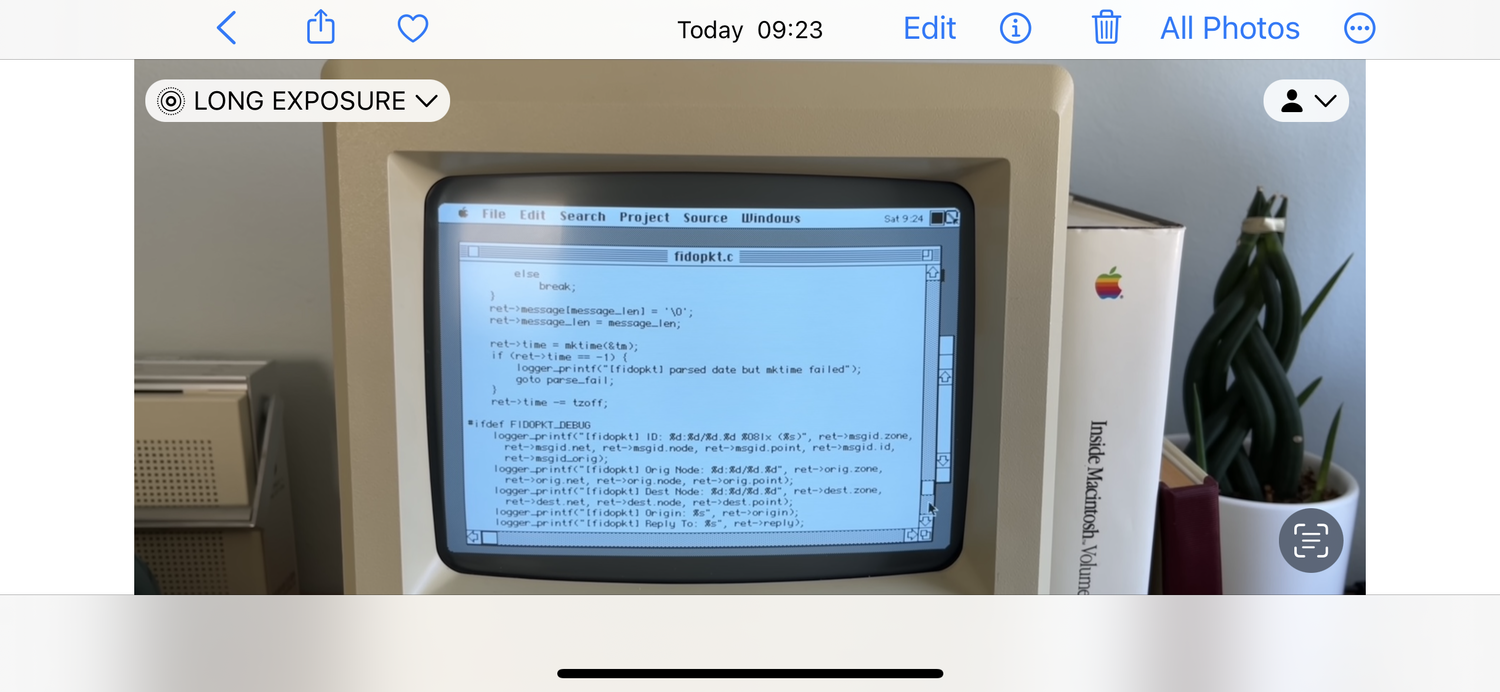
But then you take a picture and it ends up like this:
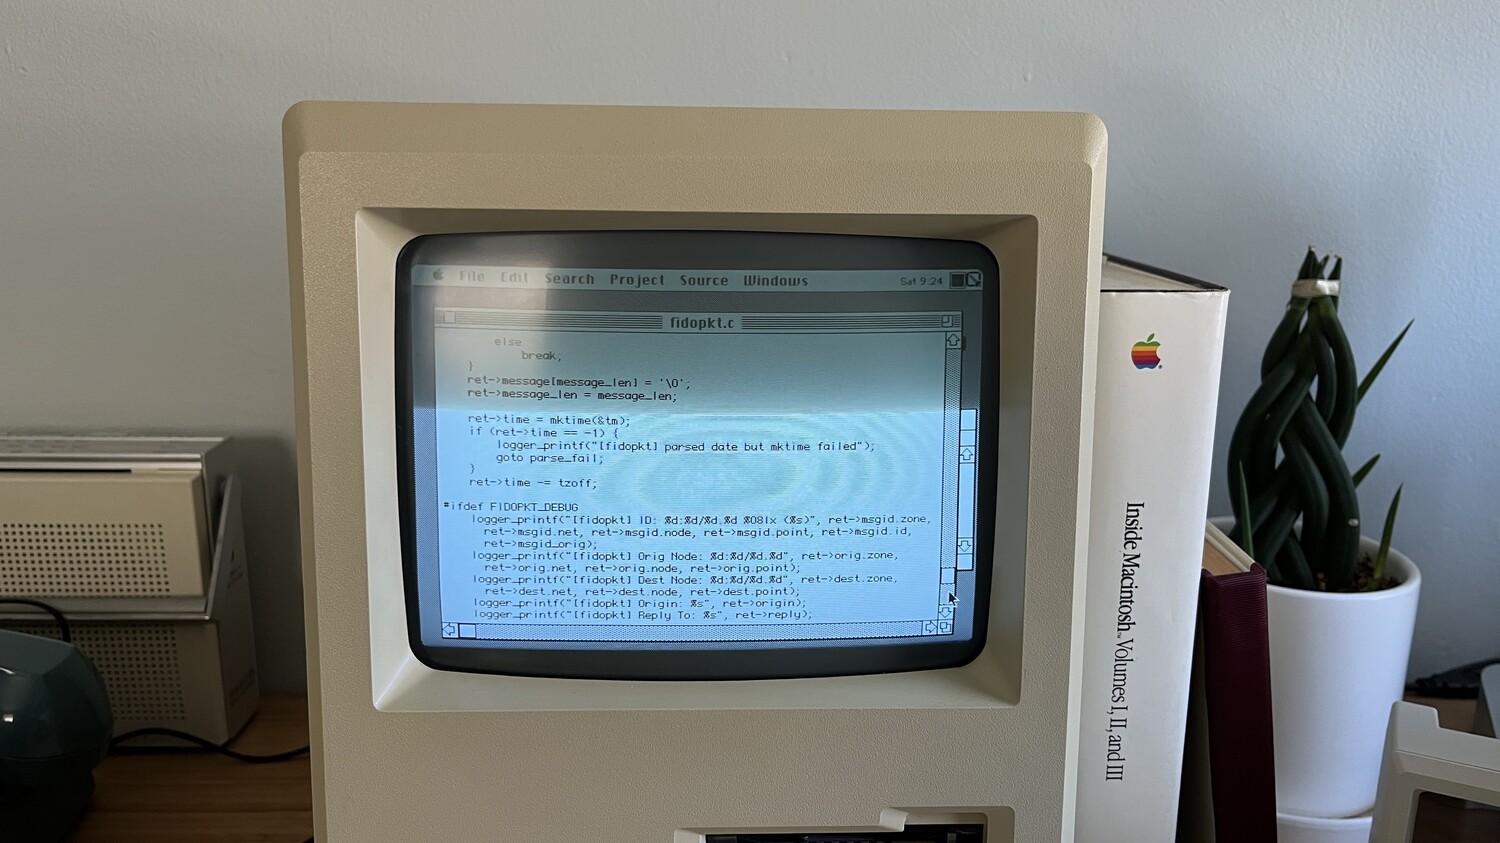
The reason is that the on-screen viewfinder showing the CRT was showing video captured at many times per second, so the scanlines are not visible (or are visible as a single bright line moving slowly down the screen).
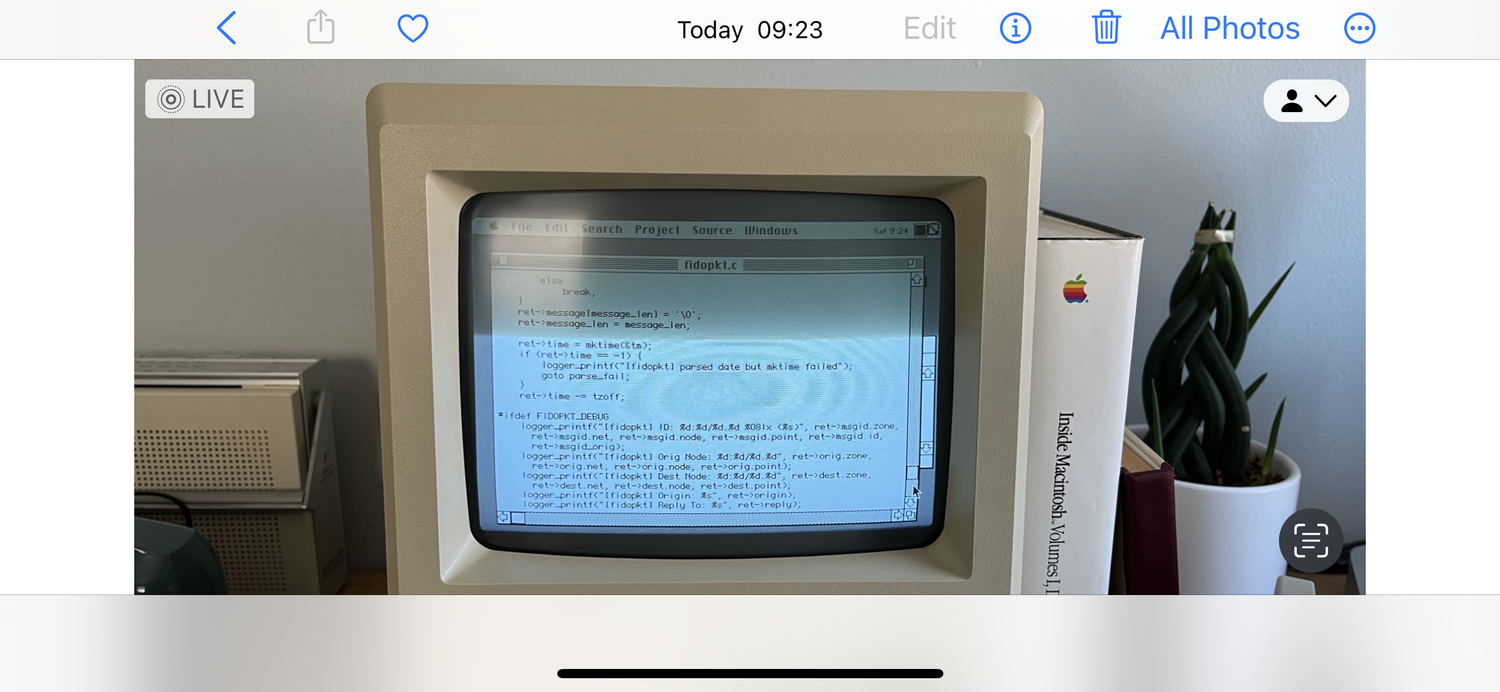
The trick to fixing this photo requires that Live Photo was enabled when the photo was taken. In the camera app, there are 3 rings in the upper left corner showing it's enabled, and in Photos, the photo will show "LIVE" in the upper left corner.
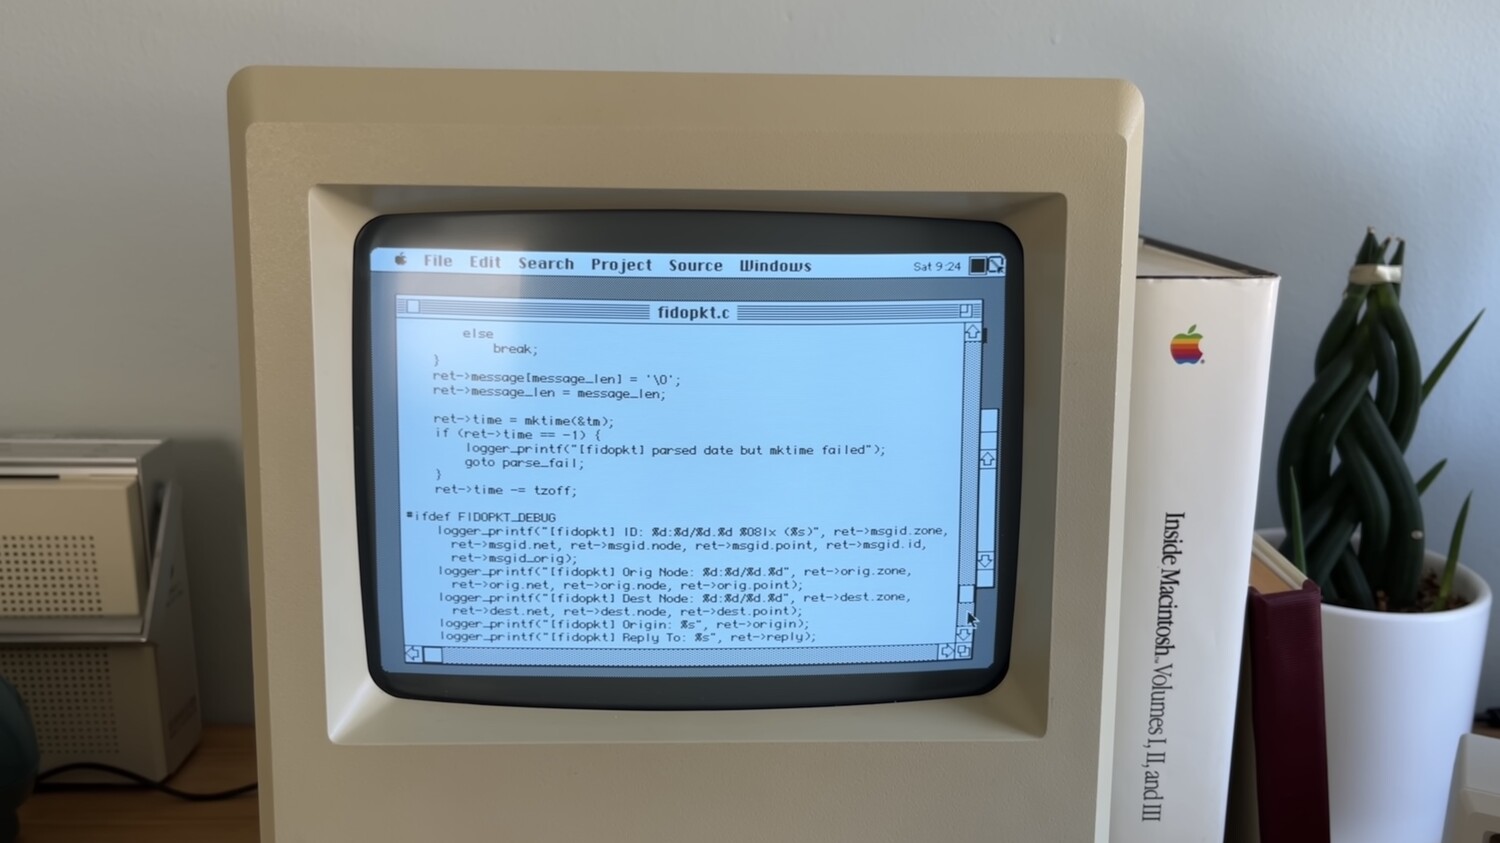
Tap on that, and it will reveal a menu. Tap Long Exposure.
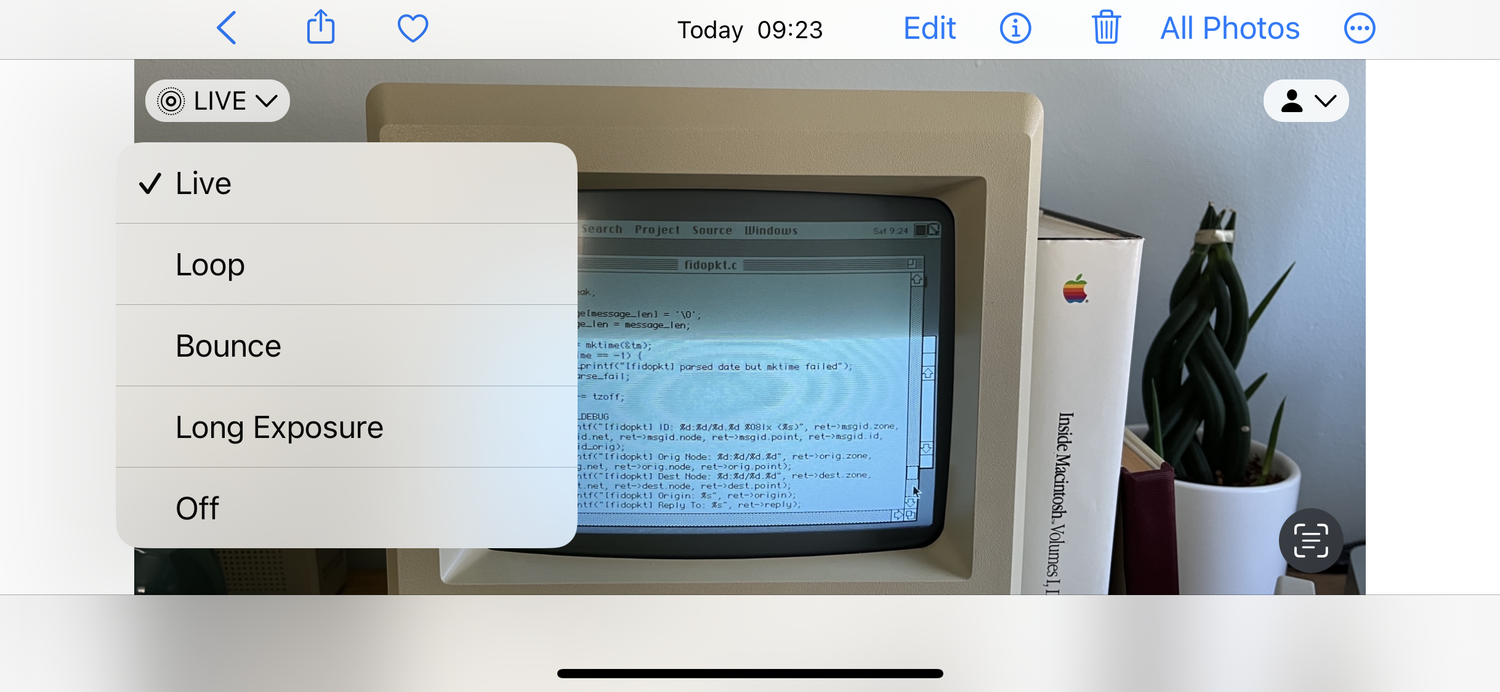
And now the scanlines are gone.
This does require that the phone was held relatively stable while taking the photo since it overlays a bunch of still photos over one another. If you zoom in, you can see that the quality is not as high as it used to be, but it's often good enough.
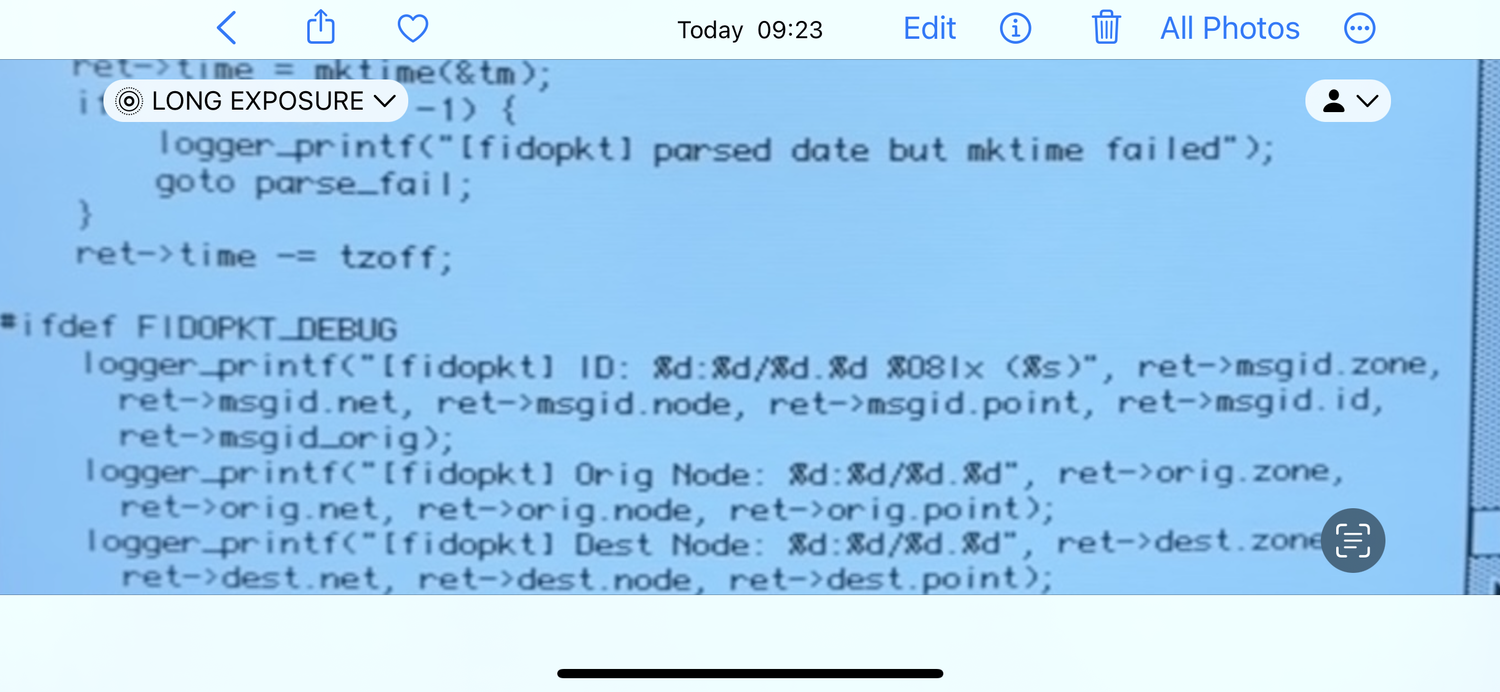
It's also worth noting that the Photos app will slightly zoom the picture in when changing it to Long Exposure, so sometimes it's necessary to have the phone a little farther back than normal when taking the photo.
Changing the Key Photo
Rather than overlaying a bunch of still images on top of each other, Live Photo also allows one to change the Key Photo. This is often what I use to turn a blurry action shot of my son into a better still frame.
If the photo was changed to Long Exposure, tap the Live/Long Exposure menu again and bring it back to Live. Tap Edit at the top menu and then in the photo editor, you can adjust the scrubber along the bottom to pick a single Key Photo frame that does not show scanlines.
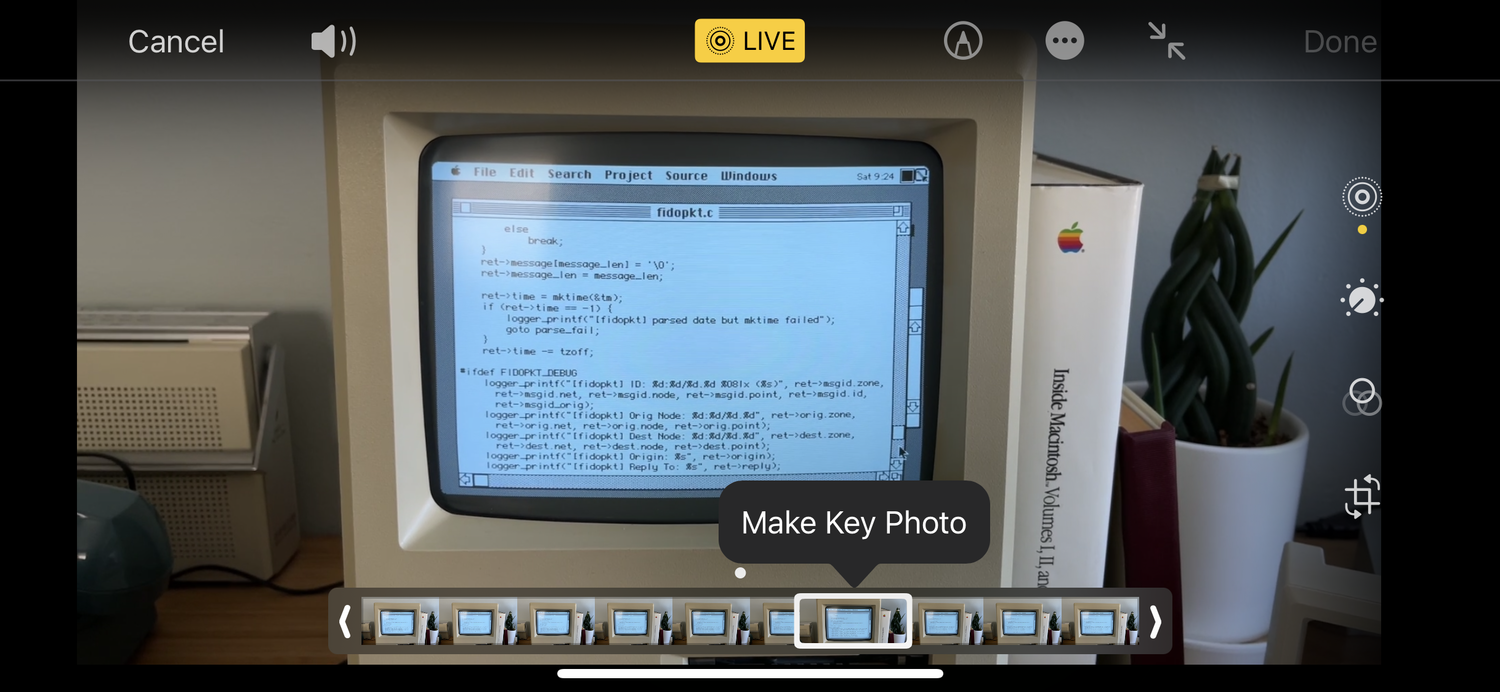
This is taking a single frame from the ~2 second video that is the Live Photo, so it's still not as high quality as the original still photo, but it can be less blurry than what Long Exposure produced.
Video
If you need to take video of a CRT, you'll need to use an app that supports controlling the frame rate to match the CRT's refresh rate (or an even divisor/multiplier of it).
On my iPad, I use the MoviePro app to take flicker- and scanline-free video for my C Programming on System 6 series since it supports capturing from both front and back cameras at once and also supports choosing a frame rate of 30 or 60 fps to mostly align with the Macintosh's 60.15 fps CRT.